How to write unit tests
19 March 2022
·How to write unit tests? is a question every new software developer has. Experienced software developers have lots of techniques they use (sometimes subconsciously) to write unit tests.
In this post I will try to document my techniques to help any developers just starting out.
First, a few points on unit tests:
A unit test is a piece of code. A piece of code that makes sure another piece of code is working properly.
It’s code testing code.
Every unit test is designed to pass when the code does what it’s supposed to. And when it does something it shouldn’t the unit test will fail.
They’re super important.
Unit tests catch a lot of bugs before code is deployed to production. Fewer bugs in production means a better product and happier customers.
If you’re just messing around on your own side project you might not need tests. But if your code is going to be used by paying customers adding unit tests is a good idea.
Testing Pyramid
There are lots of different types of tests. It’s good to know how they relate to each other. The testing pyramid is a good visual for this:
The pyramid shows the quantity and depth of the different tests. Different names are used for tests but they all follow the pyramid structure.
Unit tests are at the bottom. The bottom is the widest part of the pyramid so we need a high ratio of unit tests to other types of tests. An application should have more unit tests than any other type of test. The bottom is also the lowest part of the pyramid. Unit tests are the closest type of test to our application code. This makes them the fastest type of test to execute.
At the top of the pyramid are end-to-end tests. These are the slowest, furthest away from the code, and fewest in quantity of the tests. An application could have 1000s of unit tests while only having 10s of end to end tests.
What do they actually test?
So the testing pyramid shows some good concepts but let’s break it down a bit further. I’ve made some diagrams that hopefully show what each test is testing.
I’ve called the big box on the right Service, this is following the modern practice of breaking applications down into smaller services. But you can replace service with application if that’s easier, the points are the same.
Each Service is comprised of individual units. In object-oriented programming these are classes and methods. And this is what unit tests are testing.
Each unit test is constrained to a specific method to make sure it works properly. Any code inside the method that calls external resources (other methods, databases, etc) is mocked.
Unit tests are very targeted.
How to write a unit test
To write unit tests we need some code to test. Here’s what we’re going to be testing:
public class PriceCalculator
{
    private Dictionary<string, int> prices = new Dictionary<string, int>
    {
        {"bread", 10 },
        {"chocolate", 20 },
        {"ice cream", 25 },
        {"tomato", 15 }
    };

    public double GetPrice(string item, int quantity)
    {
        if (prices.ContainsKey(item))
        {
            return prices[item] * quantity;
        }

        return 0;
    }
}
It’s called the PriceCalculator and has a simple method called GetPrice. It takes in two parameters item and quantity. Using these parameters, the method retrieves the item price from the prices dictionary and multiplies it by the quantity.
Paths
The first step in writing unit tests is identifying the paths through the code. Each path will need its own unit test.
From the code above I’ve identified three paths:
Screenshot of the different paths through the code
Path 1 is where the item does not exist in the dictionary and a 0 is returned.
Path 2 the item does exist and we get the item price returned.
Path 3 includes the quantity parameter to multiply the time price.
You might think that paths 2 and 3 could be joined together. This is true but we really shouldn’t. Every unit test should be small and only test one thing. So if any test breaks we know exactly which functionality is not working.
Identifying paths can be difficult at first. A good first step is to identify the Happy and Sad paths.
The Happy path through the code is when everything goes smoothly and according to plan.
The Sad path is the opposite. It’s the path through the code when something goes wrong.
Arrange Act Assert
The AAA pattern is a way to structure unit tests. It splits the test into three parts that are universal for all unit tests. The pattern helps make tests clear to read which is amazing when you’re looking at tests you didn’t write. It’s widely used and recommended by Microsoft.
The Arrange section covers the setup of the test.
The Act section is where the system under test is called.
And Assert is where the result is determined to be a pass or fail.
The Tests
There are lots of different testing frameworks including Xunit and NUnit. For our tests, I’ve used the Microsoft unit testing framework. The actual tests are written in the same way regardless of the framework. It’s just the stuff around the edges that change. Like our tests have the TestMethod attribute whereas XUnit uses a Fact attribute.
When naming your tests don’t be afraid to make them really long. Like kind of ridiculously long. Try to describe the test in full English. Try to include what it’s testing, the expected result, and the condition that produces that result. The name helps when the test breaks in the future and you need to work out what on earth the test is trying to do.
Testing Path #1
[TestMethod]
public void GetPrice_Should_Return_0_If_Item_Does_Not_Exist()
{
// Arrange
var item = "potato";
var calculator = new PriceCalculator();
// Act
var result = calculator.GetPrice(item, 1);
// Assert
Assert.AreEqual(0, result);
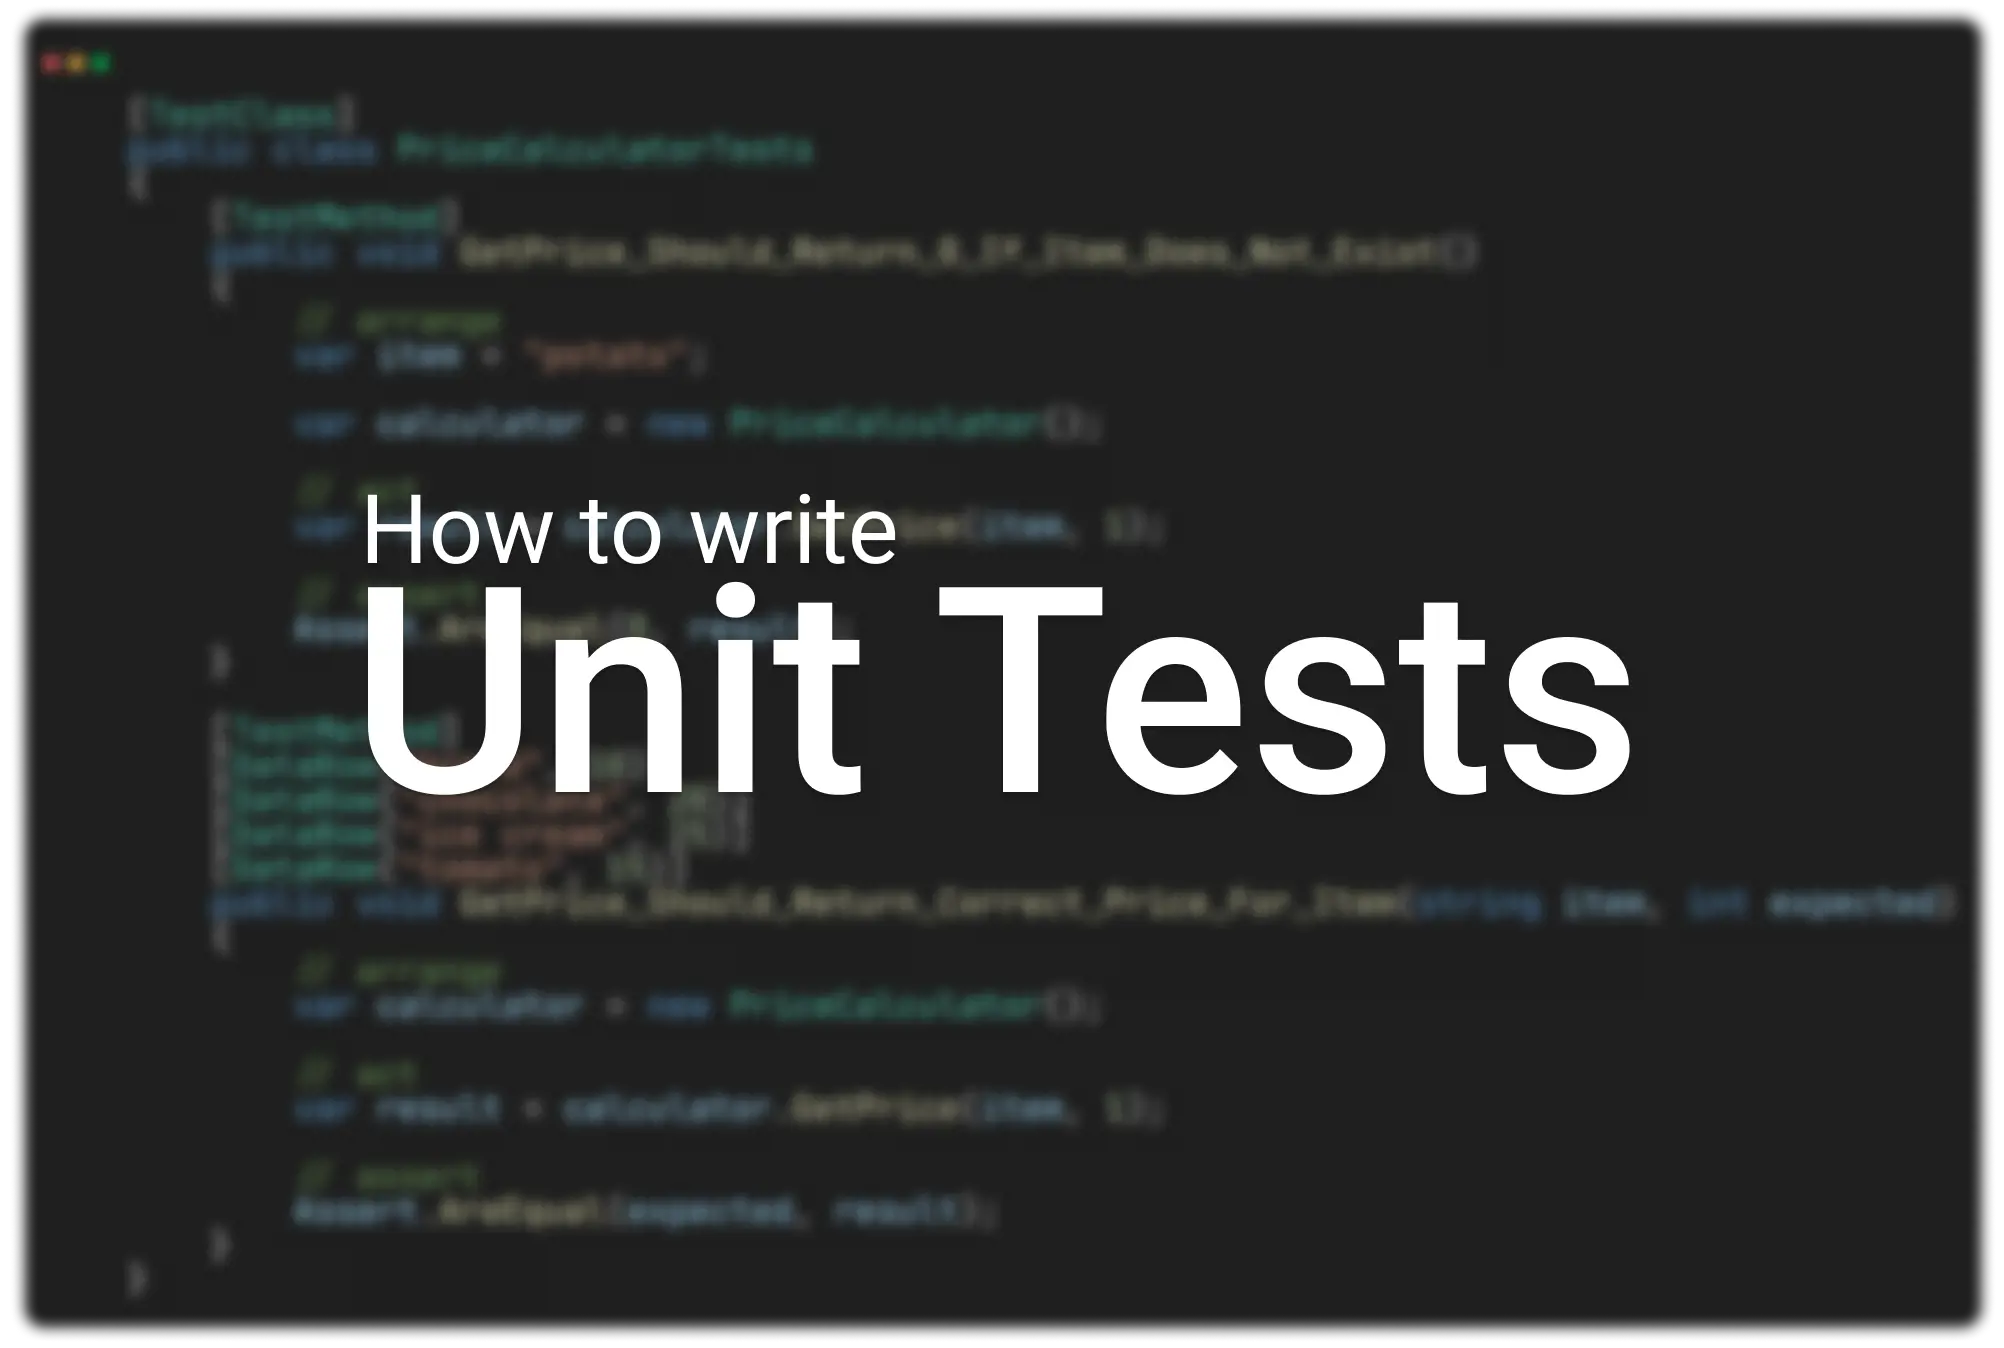
}The first thing you notice with this test is that I’ve actually added comments separating the Arrange, Act and Assert parts of the test. I highly recommend following this practice. It makes reading tests so much easier. This is important when looking at other people’s tests as well as your old ones.
This test is testing path #1 we described earlier. We need to call the price calculator with an item that doesn’t exist. In the arrange section we set up our variables which include the item ‘potato’ which doesn’t exist in the price calculator. We then call the calculator with this item in the Act section. Finally, we use the Assert method to make sure the returned price is the expected 0.
Assert is a built-in C# class that we can use to make sure the result is what we expected. It has lots of methods for different types of result comparison. If the assertion fails an exception will be thrown and the test will fail.
Testing Path #2
[TestMethod]
[DataRow("bread", 10)]
[DataRow("chocolate", 20)]
[DataRow("ice cream", 25)]
[DataRow("tomato", 15)]
public void GetPrice_Should_Return_Correct_Price_For_Item(string item, int expected)
{
    // Arrange
    var calculator = new PriceCalculator();

    // Act
    var result = calculator.GetPrice(item, 1);

    // Assert
    Assert.AreEqual(expected, result);
}
The test for path #2 is much the same except it uses data row attributes. Data rows are used to run the test multiple times with different data.
Path #2 is where the correct price is returned for an item. Because the PriceCalculator contains multiple items it’s a good idea to test them all. So each data row passes in a different item and expected result. The values in the data row automatically get mapped to the test parameters.
Testing Path #3
[TestMethod]
public void GetPrice_Should_Multiply_By_Quantity()
{
    // Arrange
    var item = "bread";
    var quantity = 10;

    var calculator = new PriceCalculator();

    // Act
    var result = calculator.GetPrice(item, quantity);

    // Assert
    Assert.AreEqual(100, result);
}
The last test is again very simple. Path #3 through the PriceCalculator includes the quantity parameter used to multiple the item’s price. So naturally, the test also includes it. The other tests have ignored the quantity parameter but here we specifically have it in the Arrange section of the test. All important variables to the test should be in the Arrange section.
The test is set up with the item set to ‘bread’ and the quantity set to 10. The price of the bread item is also 10 set inside the calculator. So the PriceCalculator should multiply this by the quality and return 100 which is what we’re asserting.
Running the tests
Running the tests in visual studio shows all 6 tests passing :)
Tests being run in visual studio

